
Auto Body Stampings Explained: Types, Materials, and How to Evaluate Part Quality
Auto Body Stampings Explained: Types, Materials, and How to Evaluate Part Quality
Auto body stampings determine how a vehicle balances strength, weight, crash performance, and manufacturing consistency.
Understanding them is essential when comparing suppliers, approving tooling, or validating production parts.
In practice, a stamping is never just a shaped metal panel.
It carries load, absorbs crash energy, controls dimensional stack-up, and affects joining quality downstream.
That is why technical evaluation of auto body stampings must go beyond surface appearance.
You need to connect part geometry, material behavior, forming limits, and inspection results into one decision.
The sections below break down the main stamping types, common materials, and the quality signals that matter most.
What Auto Body Stampings Actually Do
Auto body stampings form the structural and closure parts of a vehicle body.
Typical examples include pillars, rails, cross members, floor pans, inner door panels, and roof reinforcements.
Some parts are visible and cosmetic.
Others stay hidden but carry much higher structural responsibility.
From a safety perspective, these parts help manage intrusion, load transfer, and energy absorption during impact.
From a manufacturing perspective, auto body stampings must also support repeatable welding, bonding, and assembly alignment.
This also means part quality cannot be judged in isolation from the body-in-white process.
Main Types of Auto Body Stampings
A practical way to classify auto body stampings is by function, geometry, and forming method.
Structural stampings
These include A-pillars, B-pillars, rocker reinforcements, front rails, and side members.
They usually require high strength, tight dimensional control, and reliable crash behavior.
Closure stampings
Door inners, hood inners, decklid inners, and liftgate parts fall into this group.
Here, stiffness, dent resistance, hemming quality, and fit are often more critical than ultimate strength.
Outer panel stampings
These are visible surfaces such as fenders, roofs, doorskins, and quarter panels.
Surface waviness, springback, and paint-ready finish become major evaluation points.
Hot stamped safety parts
These auto body stampings are formed at high temperature, then quenched in the die.
They are common in occupant protection zones where ultra-high strength is required.
Cold stamped conventional parts
These are produced at room temperature using progressive or transfer dies.
They remain widely used because cost, speed, and tooling maturity are favorable.
Materials Used in Auto Body Stampings
Material choice drives forming behavior, weight, corrosion performance, and crash response.
This is where many supplier comparisons become more revealing.
Mild steel
Mild steel offers good formability and cost efficiency.
It is still suitable for less demanding panels and some non-critical reinforcements.
High-strength steel and AHSS
High-strength steel and advanced high-strength steel are now core materials for modern auto body stampings.
Grades such as DP, TRIP, CP, and martensitic steel help reduce mass while protecting stiffness and crash performance.
The trade-off is narrower forming windows and greater springback sensitivity.
Press hardening steel
For hot stamped auto body stampings, boron steel such as 22MnB5 is widely used.
After quenching, tensile strength can exceed 1500 MPa.
This makes it attractive for anti-intrusion structures and load path management.
Aluminum alloys
Aluminum helps reduce body weight significantly.
Common series include 5xxx and 6xxx alloys for outer panels, closures, and selected structural applications.
However, fracture behavior, galling risk, and joining compatibility require closer review.
Coated materials
Galvanized, galvannealed, and Al-Si coated blanks improve corrosion resistance or support hot forming.
Coating integrity should always be checked because it affects durability and weld quality.
How Auto Body Stampings Are Made
The process route shapes the final risk profile of the part.
That is why process understanding matters during technical review.
- Blanking cuts the sheet into the required starting geometry.
- Drawing or forming creates the main three-dimensional shape.
- Trimming removes excess material and defines edges.
- Piercing adds holes and functional openings.
- Flanging prepares joining features and local stiffness zones.
- Restrain, cam, or restrike operations improve dimensional accuracy.
For hot stamped auto body stampings, the sequence includes heating, transfer, forming, quenching, and sometimes laser trimming.
Each step introduces different failure modes, from splits and wrinkles to hardness loss or edge cracking.
Key Quality Indicators to Evaluate
When evaluating auto body stampings, the most useful approach is to combine dimensional, metallurgical, and functional evidence.
1. Dimensional accuracy
Check GD&T compliance, hole position, section profile, flange angle, and overall springback.
CMM data is useful, but fixture strategy and datum selection matter just as much.
2. Surface condition
Look for scratches, die marks, galling, waviness, orange peel, and coating damage.
Visible defects may also signal deeper process instability.
3. Thickness distribution
Localized thinning reveals forming severity.
Excessive reduction can lower fatigue life and crash energy absorption.
4. Mechanical properties
Test yield strength, tensile strength, elongation, and hardness against specification.
For hot stamped auto body stampings, hardness mapping is especially valuable.
5. Edge quality
Burr height, trimmed edge condition, and microcrack risk should be checked carefully.
Poor edges often fail later during flanging or crash loading.
6. Joining readiness
Review weld access, adhesive flange width, hole quality, and coating compatibility.
A part can pass dimensional checks yet still create assembly problems.
Common Defects and What They Usually Mean
- Wrinkling often points to weak material restraint or poor blank design.
- Splits usually indicate excessive strain, sharp radii, or unstable lubrication.
- Springback often grows with AHSS strength and insufficient compensation strategy.
- Surface galling may suggest die wear, coating mismatch, or lubrication breakdown.
- Soft zones in hot stamped parts may indicate poor heating or quench inconsistency.
- Edge cracks can be linked to trimming quality or low residual ductility.
In actual sourcing work, defect patterns often tell more than isolated measurements.
A Practical Evaluation Checklist
A structured checklist helps keep auto body stampings evaluation consistent across suppliers and programs.
- Confirm material grade, coating type, thickness, and certification traceability.
- Review forming simulation results against actual measured thinning and springback.
- Check critical product characteristics tied to crash or assembly function.
- Verify control plan, die maintenance record, and process capability history.
- Inspect trimmed edges, pierced features, and flange consistency at high-risk zones.
- Request hardness or tensile evidence for safety-critical auto body stampings.
- Assess joining trials, not just standalone part inspection reports.
This is also where experienced teams separate attractive samples from repeatable production capability.
A good part submission should make the manufacturing logic visible, not just the final geometry.
Final Takeaway
Auto body stampings sit at the intersection of lightweighting, crash safety, and production discipline.
The strongest evaluation method combines material knowledge, process awareness, and evidence-based inspection.
When reviewing auto body stampings, focus on whether the part can repeatedly meet structural intent, not only whether one sample looks acceptable.
That shift in perspective usually leads to better supplier decisions, lower launch risk, and more reliable body performance.
If the goal is technical confidence, start with the material, challenge the process, and verify the data behind every critical auto body stamping.
Related News

How to Specify Integrated Marine Electronics for Reliable Bridge Operations
Integrated marine electronics: learn how to specify reliable bridge systems with clear data flows, redundancy, alarm control, lifecycle interfaces, and operational testing.

How to Evaluate Navigation Radar Manufacturers for Commercial Vessel Projects
Navigation radar manufacturers: learn how to compare performance, compliance, integration, support, and lifecycle cost for commercial vessel projects.

How Adjustable Cabin Ergonomics Reduce Operator Fatigue in Long-Shift Vehicles
Adjustable cabin ergonomics reduces operator fatigue through better seating, reach, visibility, vibration control, and climate comfort for safer long-shift vehicles.
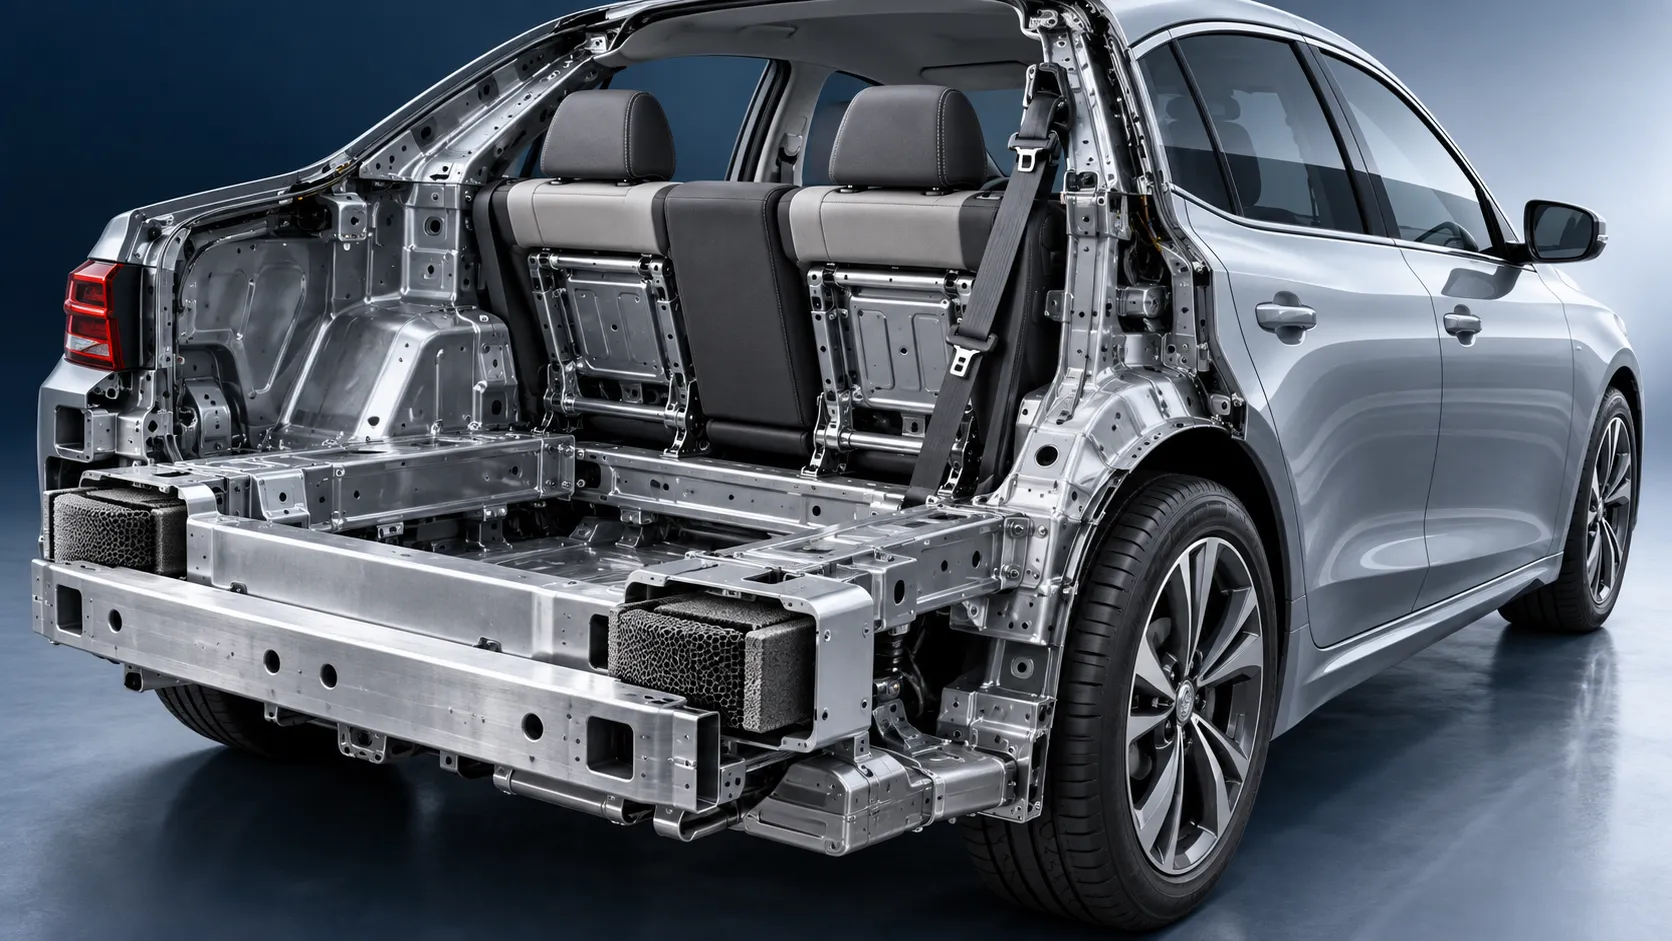
How Rear-Impact Safety Components Work Together to Protect Vehicle Occupants
Explore how automotive safety components for rear impact work together—from crash structures and seats to head restraints and belts—to enhance occupant protection.

How to Evaluate a Marine Safety Systems Manufacturer for Vessel Compliance and Reliability
Marine safety systems manufacturer evaluation guide: verify compliance, engineering quality, lifecycle costs, and global service support for safer, reliable vessel operations.
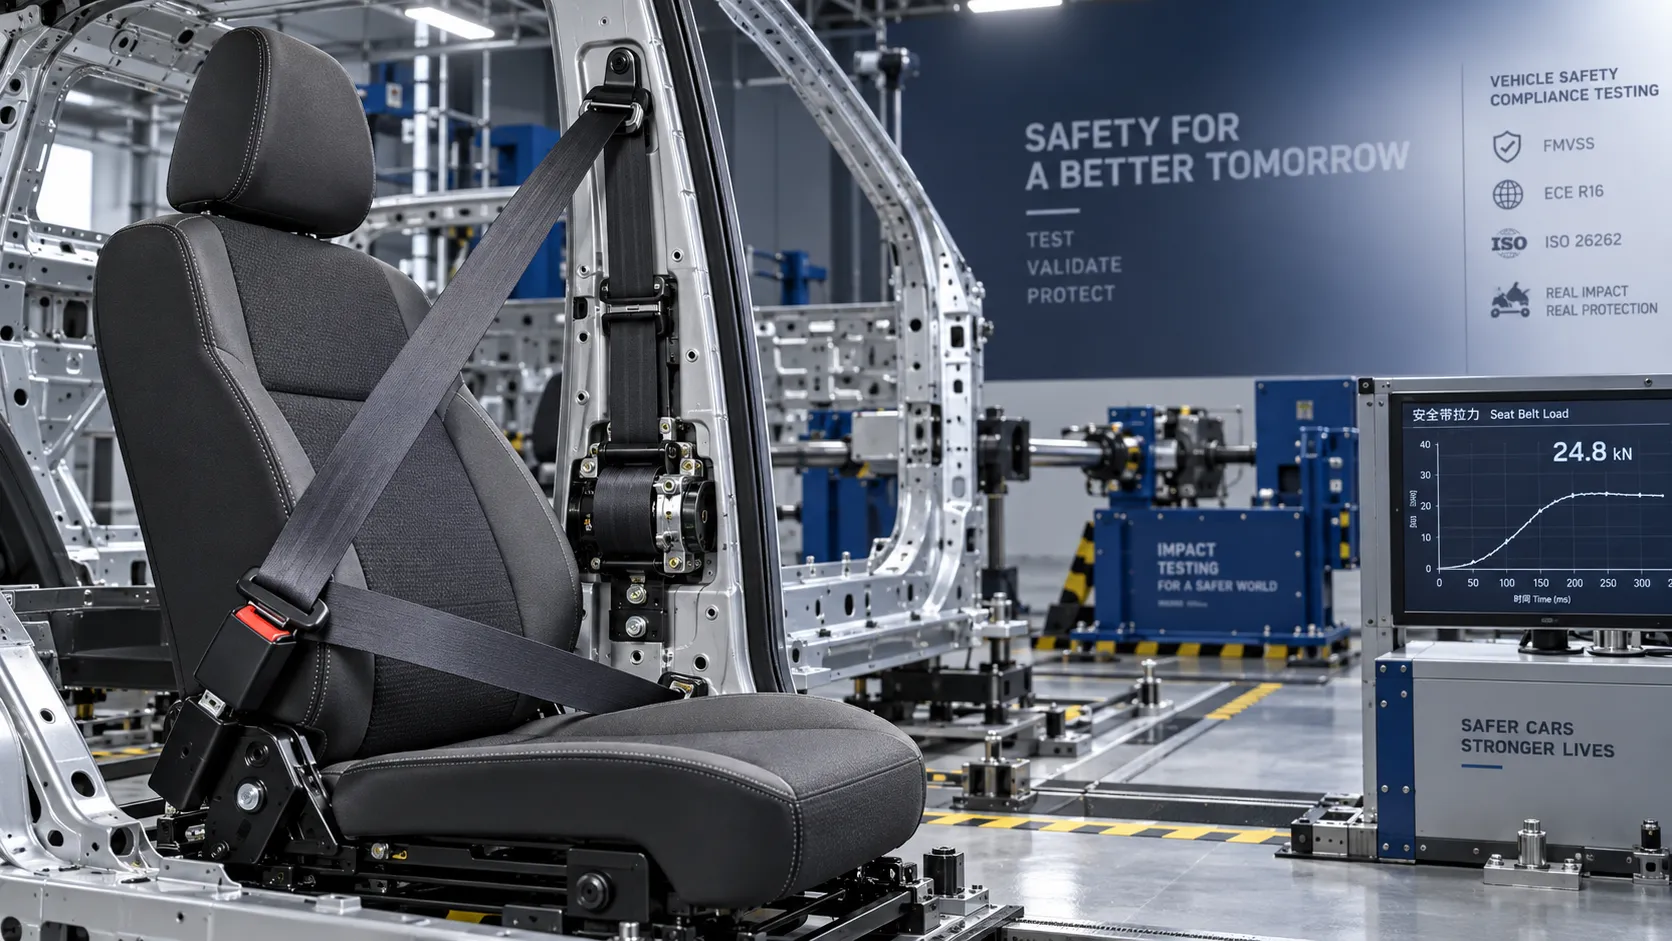
Crash Test Regulations for Seatbelts: Key Compliance Requirements Explained
Crash test regulations seatbelts explained: explore FMVSS, UN rules, anchorage strength, and dynamic restraint testing for safer, compliant vehicle systems.

How to Calculate the Total Cost of Automotive Lightweighting for a Vehicle Program
Automotive lightweight solutions cost: learn how to calculate program-level costs, including materials, tooling, joining, validation, risk, and vehicle-level value.

How Automotive Seat Occupancy Sensing Improves Airbag Deployment Decisions
Automotive seat occupancy sensing helps optimize airbag deployment decisions, improving passenger classification, safety diagnostics, and compliance across real-world conditions.

What Drives Lightweight Body Component Costs in High-Volume Vehicle Programs?
Lightweight body components cost depends on material yield, forming, joining, tooling, validation, and logistics. Explore proven ways to optimize total vehicle program cost.
Related News
- 00
0000-00
How to Evaluate High Strength Hot Stamped Steel Parts for Crash-Safety Applications - 00
0000-00
How to Evaluate Steel Auto Body Stampings for Strength, Fit, and Cost - 00
0000-00
Vehicle Lightweight Engineering for Body Structures vs High-Strength Steel: When to Use Which - 00
0000-00
Vehicle Lightweight Solutions for Structural Parts: When to Use Aluminum, HSS, or Hot Stamping - 00
0000-00
How to Evaluate High Strength Steel Stampings for Seat Structures: Key Grades and Forming Limits
Weekly Insights
Stay ahead with our curated technology reports delivered every Monday.